
Cakes
Welcome to our creative baking blog! If you’re passionate about cake decorating and love customizing your creations with fondant, you’re in the right place. In this post, we’ll share 10 essential tips to take your decorating skills to the next level.
Whether you’re new to the world of fondant or looking to perfect your techniques, these tips will help you achieve professional and stunning finishes. From surface preparation to the application of fine details, we’ll cover all the aspects you need to master to make your cakes the center of attention at any celebration.
TIP N°1
Avoid Moisture:
Fondant is sensitive to moisture, so ensure you work in a dry environment and avoid exposing the fondant to humidity while handling it. This can make it sticky or cause it to crack.
TIP N°2
Take Your Time:
One of the secrets to achieving a perfectly decorated fondant cake is taking the necessary time for each stage of the process. Trying to do everything in one day can result in a less firm and harder-to-handle cake.
What is the Best Kind of Chocolate to Use?
Here’s how to break down the tasks for the best results:
- Cake Assembly:
After baking your cake layers, stack them together with a layer of filling (such as cream, ganache, or any other filling of your choice). - Applying the Crumb Coat:
Once the cake is cool and firm, apply a thin layer of cream or ganache all over the cake. This is known as the “crumb coat” and will help seal in the crumbs so they don’t mix with the final layer of fondant. - Initial Refrigeration:
Place the assembled cake in the refrigerator and let it cool for a couple of hours or preferably overnight. This will help the filling set and give the cake stability. - Covering with Fondant:
With the cake well chilled, proceed to cover it with fondant and decorate it as desired. Working on a cold, stable surface will result in a much cleaner and professional finish. - Additional Refrigeration:
Once you have covered the cake with fondant, place it back in the refrigerator and let it chill for at least an hour. This is especially important in hot weather, as it will help the fondant fully stabilize and allow you to handle and decorate the cake without risk of damage.
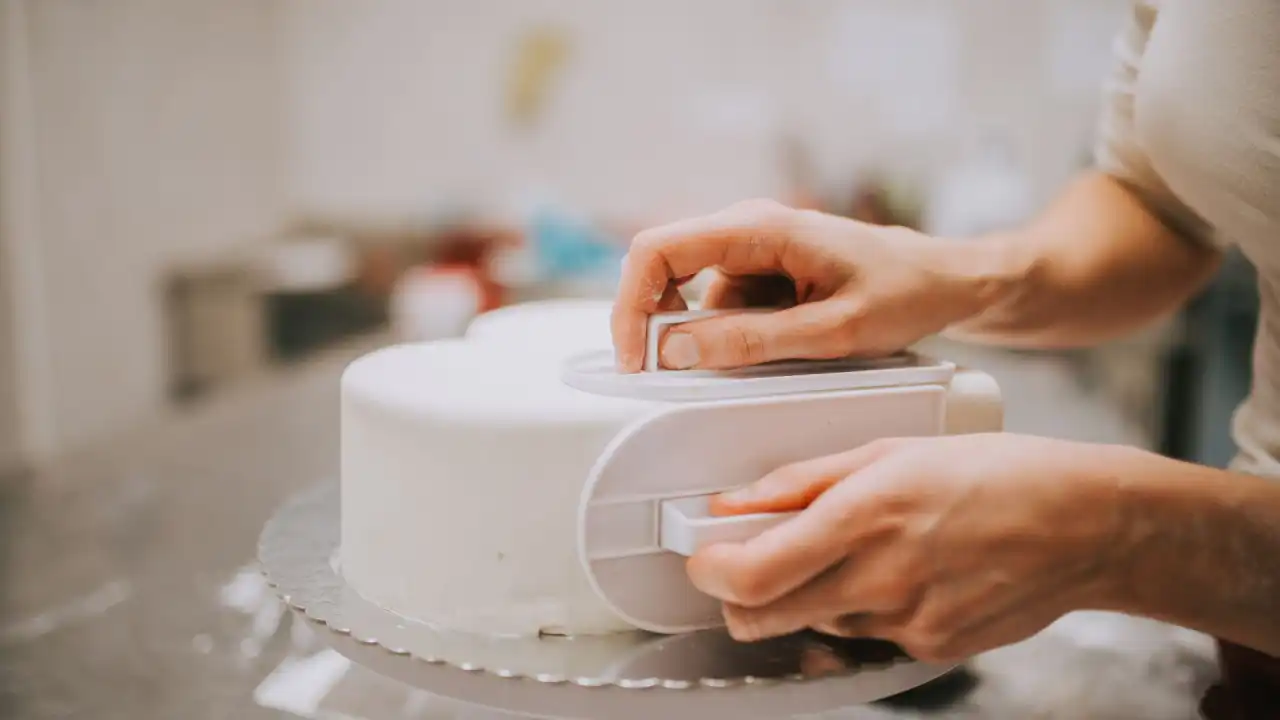
TIP N°3
Use a Cake Leveler:
Before applying fondant, use a cake leveler to ensure your cake layers are even and uniform. This will help you achieve a more professional and aesthetic finish.
TIP N°4
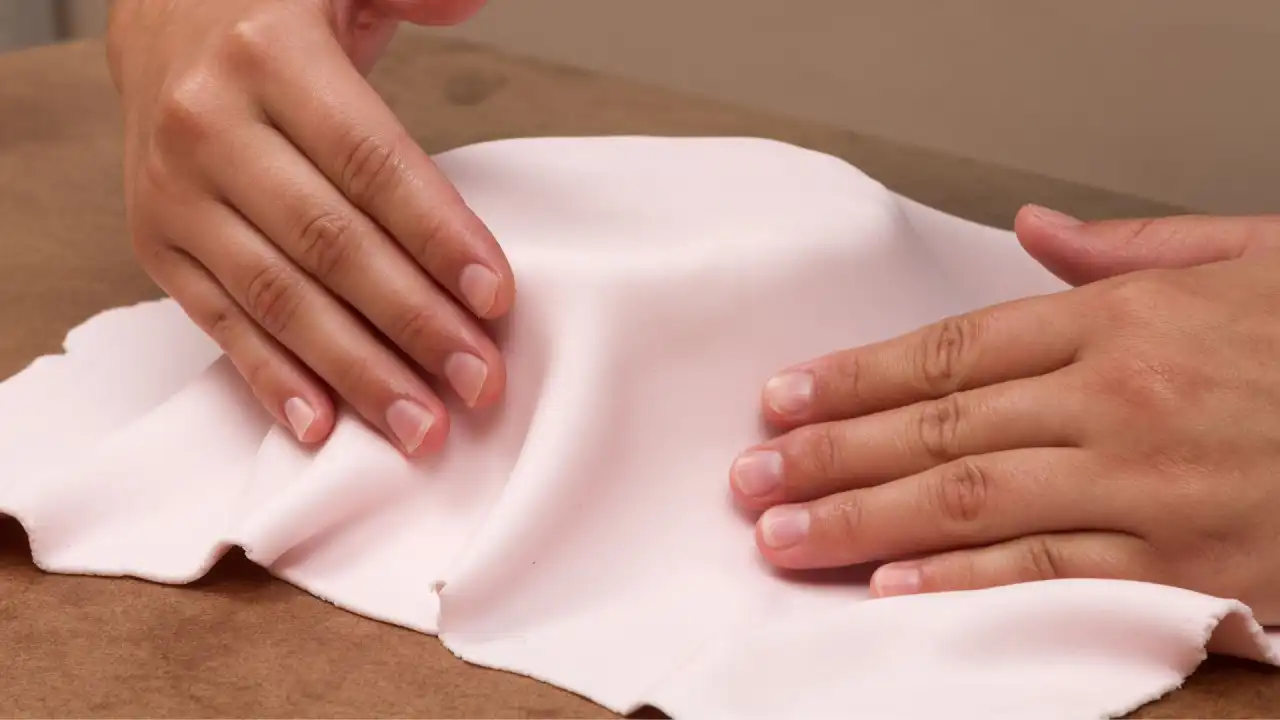
Silicone Mat:
Instead of adding cornstarch or powdered sugar to your fondant, use a large silicone mat to knead and roll it out. This will prevent you from having to add agents that could dry out your fondant and make it look cracked.
TIP N°5
Vegetable Shortening:
Additionally, apply a small amount of vegetable shortening to your hands. This will help keep the fondant hydrated while you knead it.
TIP N°6
Edible Glue:
Attach pieces to the fondant using edible glue. You can make your own glue with a mixture of CMC and cold water.
TIP N°7
Work Quickly:
Fondant can dry out quickly, so work efficiently and quickly to avoid cracking.
TIP N°8
Be Patient and Practice:
Decorating cakes with fondant can be challenging at first, so be patient with yourself and keep practicing. Over time and with experience, you’ll improve your skills and be able to create beautiful and personalized fondant cakes with confidence.
TIP N°9
Shiny Fondant:
Give the fondant a shiny finish using techniques like steaming or dusting the fondant with edible luster dust.
TIP N°10
Safe Cake Transport:
Pack your cakes in sturdy boxes. Never place them on vehicle seats, as it is not a completely flat surface and can cause the cake to tilt and get damaged. Use non-slip mats or ensure the box doesn’t slide during transport.

